
How to Remove Silver Plating: A Step-by-Step Guide
Author: SZTC
2025-07-10
Silver plating is often used to enhance the appearance of items like jewelry, cutlery, or metal fixtures. However, over time, the plating can wear off, tarnish unevenly, or you might simply want to reveal the base metal underneath. Removing silver plating requires careful handling to avoid damaging the underlying material. Here’s a detailed guide on how to remove silver plating effectively.
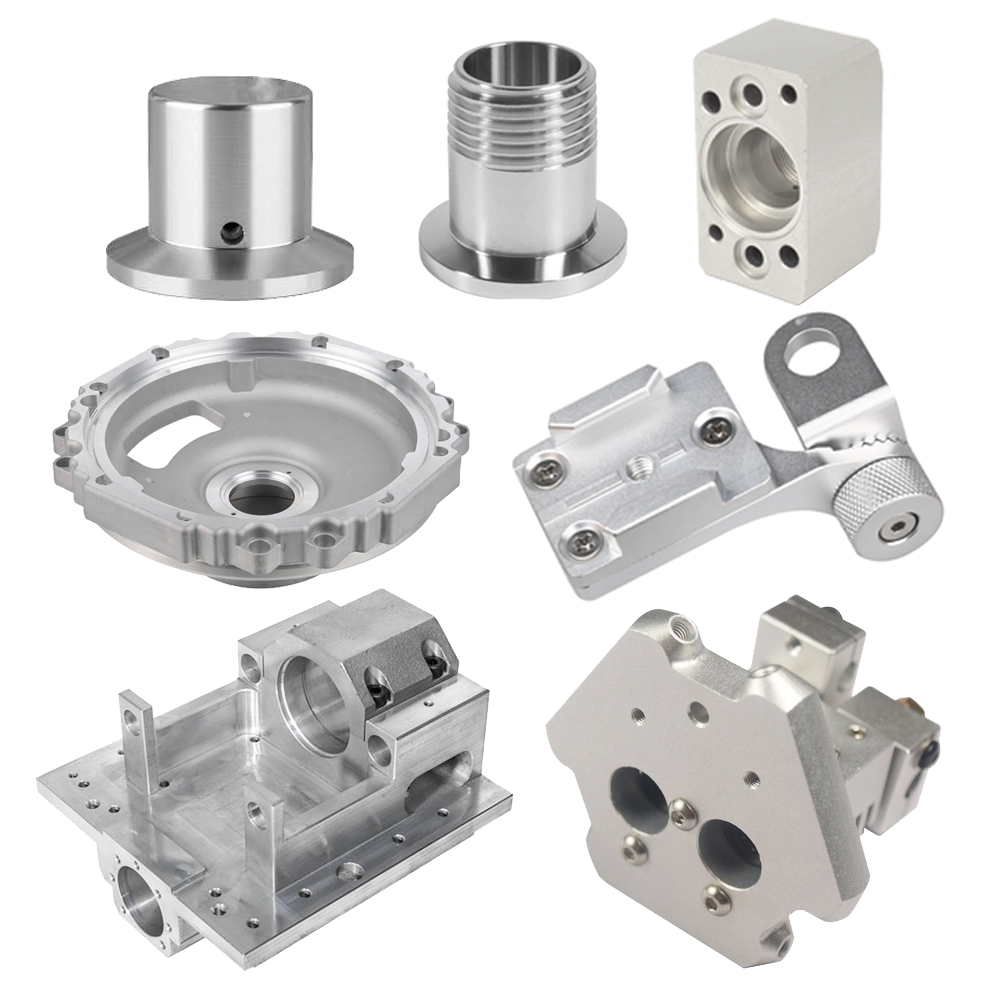
Before starting the removal process, proper preparation is key to ensuring safety and success. This includes gathering the right tools and setting up a suitable workspace.
Essential Supplies You’ll Need
- Safety equipment: Heavy-duty gloves (to protect against chemicals), safety goggles, and a mask (if working with strong fumes).
- Cleaning items: A soft sponge, mild detergent, and warm water to clean the object before removal.
- Removal materials: Depending on the method, this may include:
- Chemical solutions (such as nitric acid diluted with water, or commercial silver strippers).
- Abrasive tools (sandpaper with varying grits, steel wool, or a wire brush).
- A container (glass or plastic) for soaking if using chemical methods.
- A soft cloth for drying and polishing.
Pre-Clean the Item
Begin by cleaning the item thoroughly to remove any dirt, grease, or debris. Use a soft sponge dipped in warm, soapy water to gently wipe the surface. Rinse it well with clean water and dry it completely with a soft cloth. A clean surface ensures that the removal process works evenly and efficiently.
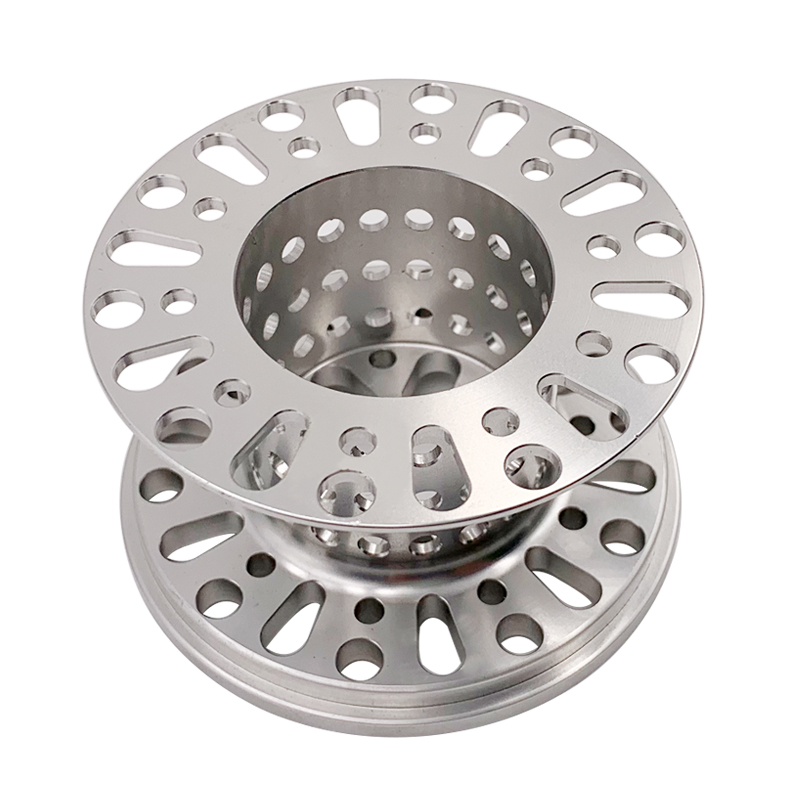
There are two primary methods for removing silver plating: chemical stripping and mechanical abrasion. Each method works best for different types of items and base metals, so choose based on your specific needs.
Method 1: Chemical Stripping
Chemical stripping uses solutions to dissolve the silver plating without harming the base metal (depending on the metal type). This method is ideal for delicate items or those with intricate designs.
Steps for Chemical Stripping
- Choose the right solution: For most cases, a diluted nitric acid solution (1 part acid to 3 parts water) works, but commercial silver strippers are safer and easier to use. Follow the product instructions for dilution ratios.
- Prepare the workspace: Work in a well-ventilated area, preferably outdoors. Place the container on a stable surface covered with a protective mat.
- Submerge the item: Carefully place the cleaned item into the chemical solution. Let it soak for 10–30 minutes, checking periodically. The silver plating will start to dissolve, turning the solution a bluish color.
- Remove and rinse: Once the silver plating is dissolved, use tongs to remove the item. Rinse it thoroughly under running water to remove all chemical residue.
- Neutralize the solution: Dispose of the used chemical solution according to local regulations. Never pour it down the drain directly.
Method 2: Mechanical Abrasion
Mechanical abrasion involves physically scraping or sanding off the silver plating. This method is better for sturdy items with flat surfaces, such as metal sheets or thick jewelry.
Steps for Mechanical Abrasion
- Start with coarse grit: Use 120–180 grit sandpaper to gently sand the surface. Move the sandpaper in steady, circular motions to avoid uneven removal. Apply light pressure to prevent damaging the base metal.
- Switch to finer grit: Once most of the silver plating is removed, switch to 400–600 grit sandpaper to smooth out the surface. This helps eliminate scratches left by the coarser sandpaper.
- Use steel wool for details: For small or intricate areas, use fine steel wool (0000 grade) to reach crevices that sandpaper can’t. Rub gently to avoid scratching the base metal.
- Clean the surface: After removing all silver plating, wipe the item with a damp cloth to remove dust and debris from sanding. Dry it thoroughly.

After removing the silver plating, taking proper care of the item ensures the base metal remains in good condition.
Clean and Polish the Base Metal
Once the silver plating is gone, clean the base metal again with warm, soapy water to remove any remaining residue. Dry it completely, then polish the surface with a metal-specific polish (e.g., brass polish for brass base metal) to restore its shine.
Protect the Base Metal
Depending on the base metal, apply a protective coating to prevent tarnishing or corrosion. For example, if the base metal is copper, use a clear lacquer spray. For steel, apply a rust-resistant primer. Follow the product instructions for application and drying times.
Conclusion
Removing silver plating is a manageable task with the right tools and techniques. Whether you choose chemical stripping for delicate items or mechanical abrasion for sturdier pieces, always prioritize safety and take your time to avoid damaging the base metal. With proper post-removal care, your item will look great and last for years to come.
Does Sterling Silver with Rhodium Plating Tarnish?
How to Remove Gold Plating from Silver: A Comprehensive Guide
Related Article

Fast sampling is the fastest way to win business in the hardware machining and plastic mold industries. Customers want a working sample in days, and a 3D printer delivers it, but only when you know how to print in 3d correctly.
how to print in 3d

Fast sampling is the fastest way to win business in the hardware machining and plastic mold industries. Customers often send an STL file and expect a working sample in days.
how to print an stl file

