
How to Remove Gold Plate: A Comprehensive Guide
Author: SZTC
2025-08-19
Gold plating adds a shiny, luxurious finish to various items, from jewelry and electronics to decorative objects. However, there may come a time when you need to remove the gold plate—whether for recycling, restoring the original material, or repurposing the item. In this guide, we’ll walk you through the steps and methods to safely and effectively remove gold plating.

Before diving into removal methods, it’s important to understand what gold plating is. Gold plating is a thin layer of gold applied to a base metal (like copper, silver, or nickel) through processes such as electroplating. The thickness of the gold layer can vary, from a few microns (for decorative items) to thicker coats (for more durable pieces). This thinness means removal requires care to avoid damaging the underlying material.
Key Characteristics of Gold Plating
- Thinness: Typically ranges from 0.5 to 2 microns, though some pieces may have thicker layers.
- Adhesion: Bonded to the base metal through chemical or electrical processes, making it resistant to simple scraping.
- Base Metal Variability: The underlying material (e.g., brass, steel) affects which removal method is safest to use.
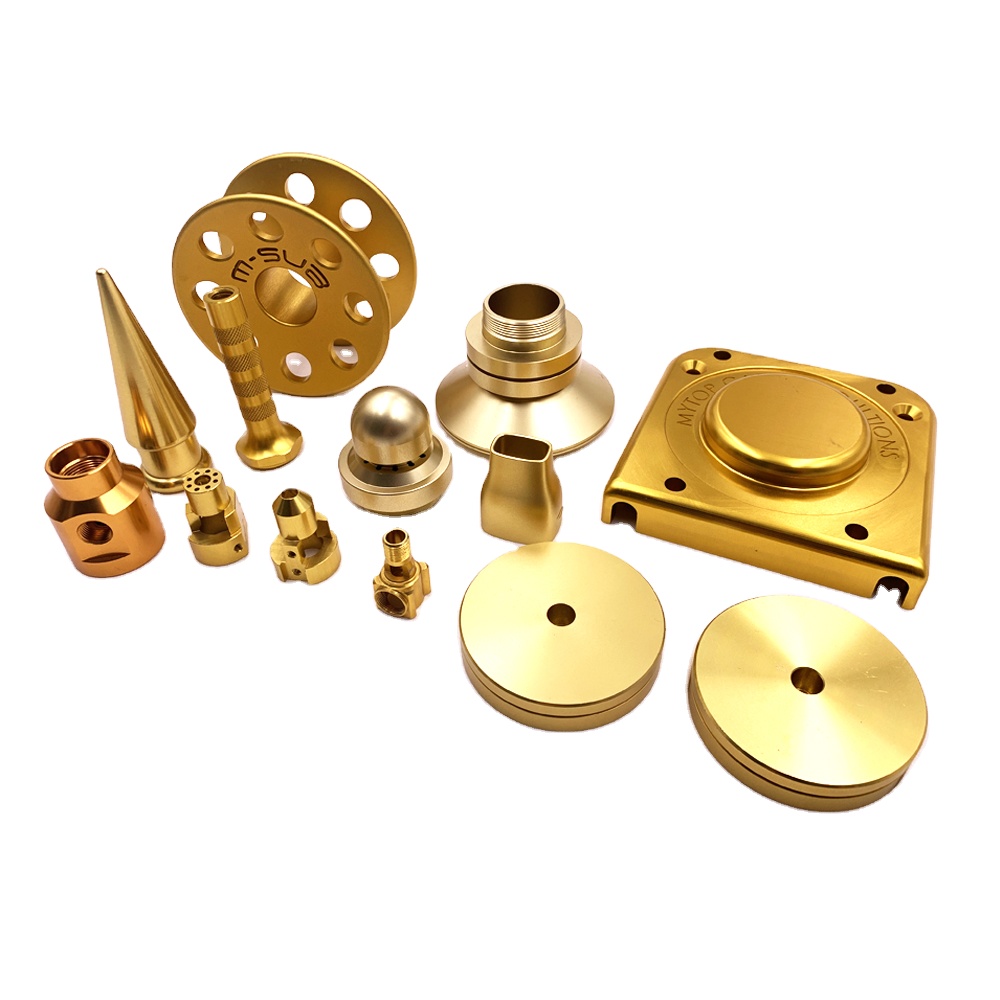
There are several approaches to removing gold plating, each with its own set of tools, safety considerations, and suitability for different items. Below are the most common methods:
1. Chemical Stripping
Chemical stripping is one of the most effective ways to remove gold plating, as it dissolves the gold layer without heavily damaging the base metal. However, it involves handling corrosive substances, so safety is paramount.
Materials Needed:
- A chemical stripper designed for gold (e.g., nitric acid-based solutions, available from metalworking suppliers)
- Protective gear: gloves (nitrile or rubber), safety goggles, a respirator, and a well-ventilated workspace
- Glass or plastic container (avoid metal, as chemicals may react with it)
- Water for rinsing
- Soft brush (optional, for scrubbing small crevices)
Steps:
- Prepare your workspace: Work in a well-ventilated area (preferably outdoors or under a fume hood) and lay down a protective mat to catch spills.
- Put on protective gear: Ensure gloves, goggles, and a respirator are securely in place to avoid contact with chemicals.
- Mix the stripper (if needed): Follow the manufacturer’s instructions for diluting the solution, if required.
- Submerge the item: Place the gold-plated object in the chemical solution. The gold will begin to dissolve, which may take anywhere from a few minutes to several hours, depending on the thickness of the plating.
- Check progress: Periodically remove the item and rinse it with water to inspect how much gold has been removed. Use a soft brush to gently scrub away any remaining gold particles.
- Neutralize the solution: Once the gold is fully removed, dispose of the chemical solution according to local regulations. Rinse the item thoroughly with water to remove any residual chemicals.
2. Mechanical Removal
Mechanical removal involves physically abrading the gold layer away. This method is best for thicker gold plating or items where chemical stripping might damage the base material (e.g., certain plastics or delicate metals).
Materials Needed:
- Sandpaper (varying grits: start with 400-grit for rough removal, then 800-grit for smoothing)
- Polishing wheel or Dremel tool with abrasive attachments
- Cloth or sponge for cleaning
- Water or lubricant (to reduce dust and heat)
Steps:
- Secure the item: Use a clamp or vice to hold the object steady, especially if it’s small or irregularly shaped.
- Start with coarse sandpaper: Gently sand the gold-plated surface in circular motions. Apply light pressure to avoid scratching the base metal.
- Switch to finer grits: Once most of the gold is removed, use 800-grit sandpaper to smooth the surface and remove any remaining gold particles.
- Use a polishing tool (optional): For intricate areas or to achieve a smoother finish, use a Dremel tool with an abrasive tip or a polishing wheel. Keep the tool moving to prevent overheating the base metal.
- Clean the item: Wipe away dust and debris with a damp cloth to inspect the surface. Repeat the process if any gold plating remains.
3. Electrolytic Removal
Electrolysis uses an electric current to dissolve the gold plating, making it a precise method for items with intricate designs or delicate base metals. This method is more technical but highly effective.
Materials Needed:
- A power source (battery charger or DC power supply, set to 3–6 volts)
- Two electrodes: one made of stainless steel (anode) and the item itself (cathode)
- Electrolyte solution (e.g., a mixture of water and baking soda, or a commercial gold-stripping electrolyte)
- Plastic container (to hold the electrolyte solution)
- Wires with alligator clips to connect the electrodes to the power source
- Protective gear: gloves and goggles
Steps:
- Prepare the electrolyte solution: Mix water with baking soda (1 tablespoon per cup of water) in the plastic container until dissolved.
- Set up the electrodes: Attach one alligator clip to the stainless steel anode and submerge it in the solution. Attach the other clip to the gold-plated item (cathode) and partially submerge it, ensuring it doesn’t touch the anode.
- Connect the power source: Attach the positive terminal of the power supply to the anode and the negative terminal to the cathode. Turn on the power.
- Monitor the process: The electric current will cause the gold to dissolve from the cathode (item) and collect on the anode. This may take 10–30 minutes, depending on the plating thickness.
- Turn off the power: Once the gold is removed, disconnect the power source and remove the item from the solution.
- Clean the item: Rinse the object thoroughly with water to remove any electrolyte residue.

- Chemical hazards: Always handle acids and strippers with extreme care. Never mix different chemicals, as this can produce toxic fumes.
- Mechanical risks: Wear eye protection when sanding or using power tools to prevent debris from entering your eyes.
- Electrical safety: Ensure all connections are secure and dry when using electrolysis to avoid electric shock.
- Environmental disposal: Dispose of chemical waste and gold particles properly. Gold is a valuable metal—consider collecting stripped gold for recycling.
Final Thoughts
Removing gold plate requires patience and the right tools, but with the methods outlined above, you can effectively strip away the gold layer while preserving the base material. Whether you choose chemical, mechanical, or electrolytic removal, always prioritize safety and follow proper disposal practices. With careful execution, you’ll be able to repurpose, restore, or recycle your gold-plated items with ease.
Is 18K Gold Plated Good? Exploring Its Pros, Cons, and Best Uses
Can Gold Plated Jewelry Get Wet? What You Need to Know
Related Article

Fast sampling is the fastest way to win business in the hardware machining and plastic mold industries. Customers want a working sample in days, and a 3D printer delivers it, but only when you know how to print in 3d correctly.
how to print in 3d

Fast sampling is the fastest way to win business in the hardware machining and plastic mold industries. Customers often send an STL file and expect a working sample in days.
how to print an stl file

