
A Comprehensive Guide: How to Do Nickel Plating
Author: SZTC
2025-07-09
Nickel plating is a popular metal finishing process that adds a layer of nickel to a substrate, enhancing its appearance, corrosion resistance, and durability. Whether you’re a hobbyist looking to refinish metal parts or a small-scale manufacturer, mastering the basics of nickel plating can be a valuable skill. This guide will walk you through the step-by-step process of how to do nickel plating, from preparation to post-treatment.

1. Understanding Nickel Plating Basics
Before diving into the process, it’s essential to grasp the fundamentals of nickel plating.
Nickel plating is an electrochemical process where a thin layer of nickel is deposited onto a metal surface (the substrate) using an electric current. The substrate acts as the cathode, and a nickel anode provides the source of nickel ions, which are attracted to the cathode and form a solid nickel layer.
1.2 Types of Nickel Plating
There are several common types of nickel plating, each suited to specific applications:
- Bright Nickel Plating: Produces a shiny, mirror-like finish, ideal for decorative purposes.
- Semi-Bright Nickel Plating: Offers a more matte finish with good corrosion resistance, often used as a base layer under bright nickel.
- Electroless Nickel Plating: Doesn’t require an electric current; instead, a chemical reaction deposits nickel. This type provides uniform coverage, even on complex shapes.
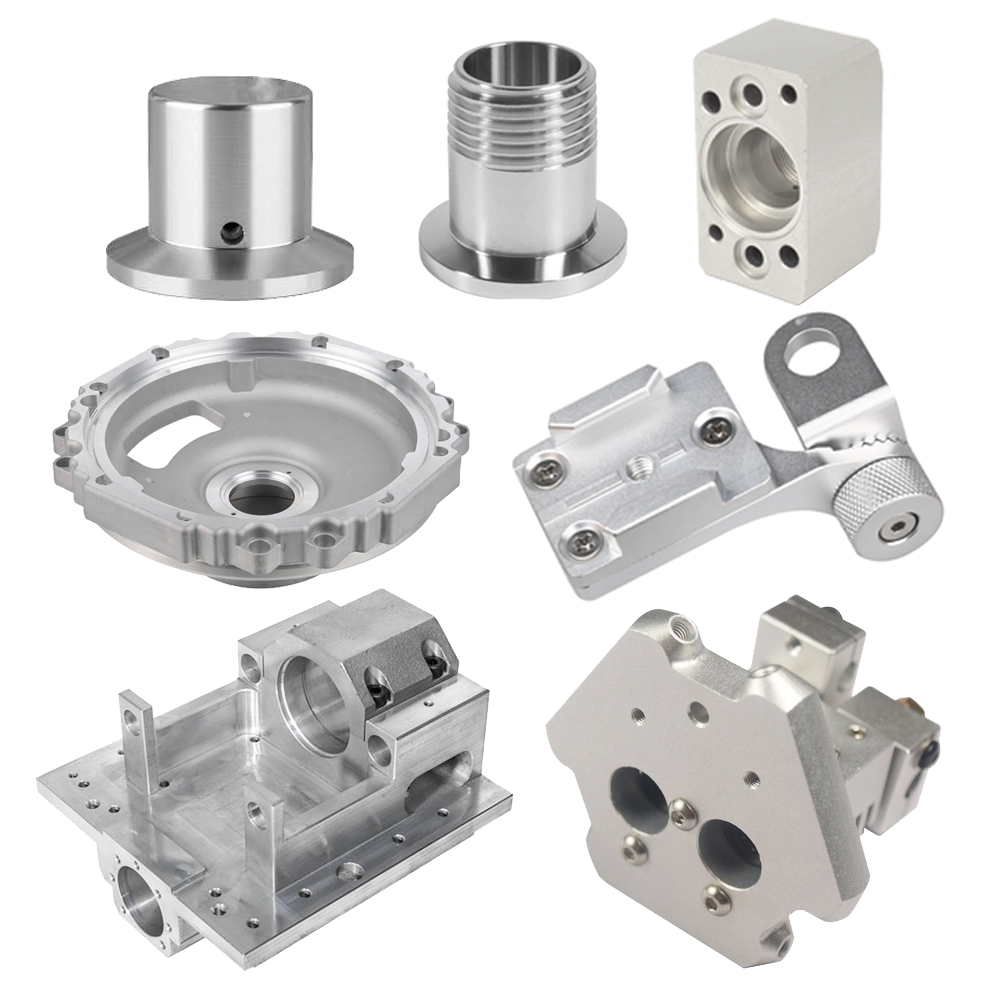
Proper preparation is critical to achieving a high-quality nickel plating. Skipping steps here can lead to poor adhesion, uneven coating, or peeling.
2.1 Gather Your Materials and Equipment
You’ll need the following items:
- Substrate: The metal part to be plated (common materials include steel, copper, brass, or aluminum; note that aluminum may require special pre-treatment).
- Cleaning Supplies: Degreaser (e.g., acetone or a commercial metal cleaner), abrasive materials (sandpaper, steel wool), and distilled water.
- Plating Solution: A nickel plating bath, which typically contains nickel sulfate, nickel chloride, and other additives (available commercially or can be mixed with proper formulas).
- Power Source: A DC power supply (e.g., a battery charger or variable power supply) to control the current.
- Anodes: Pure nickel sheets or pellets (to supply nickel ions).
- Plating Tank: A non-reactive container (plastic or glass) large enough to submerge the substrate.
- Safety Gear: Gloves, goggles, a face mask, and a well-ventilated workspace (nickel solutions can be toxic).
2.2 Clean the Substrate
Contaminants like oil, dirt, rust, or oxide layers will prevent the nickel from adhering properly. Follow these steps:
- Degrease: Soak the substrate in a degreaser or wipe it with acetone to remove oils and greases. For heavily soiled parts, use a brush to scrub away stubborn residues.
- Abrade: Use sandpaper (start with 120-grit, then move to 400-grit) or steel wool to remove rust, scale, or old plating. This creates a rough surface for better adhesion.
- Rinse: Thoroughly rinse the part with distilled water to remove any remaining cleaning agents. Avoid touching the cleaned surface with bare hands, as oils from your skin can contaminate it.

Once the substrate is clean and prepped, you’re ready to begin plating.
3.1 Set Up the Plating Tank
- Fill the plating tank with the nickel plating solution, ensuring it’s deep enough to fully submerge the substrate.
- Suspend the nickel anodes in the solution, positioning them evenly around the substrate (this ensures uniform plating). The anodes should be connected to the positive terminal of the power supply.
- Hang the substrate (cathode) in the center of the tank, making sure it’s fully submerged and not touching the anodes. Connect the substrate to the negative terminal of the power supply.
3.2 Adjust the Power Supply
- Consult the instructions for your plating solution to determine the correct current density (typically measured in amps per square foot or amps per square meter). As a general guideline, bright nickel plating often uses 2–10 ASF (amps per square foot).
- Turn on the power supply and gradually adjust the current to the desired level. Avoid sudden spikes, as they can cause uneven plating or burning of the substrate.
3.3 Monitor the Plating Process
- Let the plating run for the required time, which depends on the desired thickness of the nickel layer. A typical plating time for a 0.0005–0.001-inch thick layer is 15–30 minutes.
- Stir the solution occasionally or use an air bubbler to ensure uniform distribution of nickel ions.
- Check the substrate periodically for even coverage. If you notice uneven plating, adjust the position of the anodes or the current.
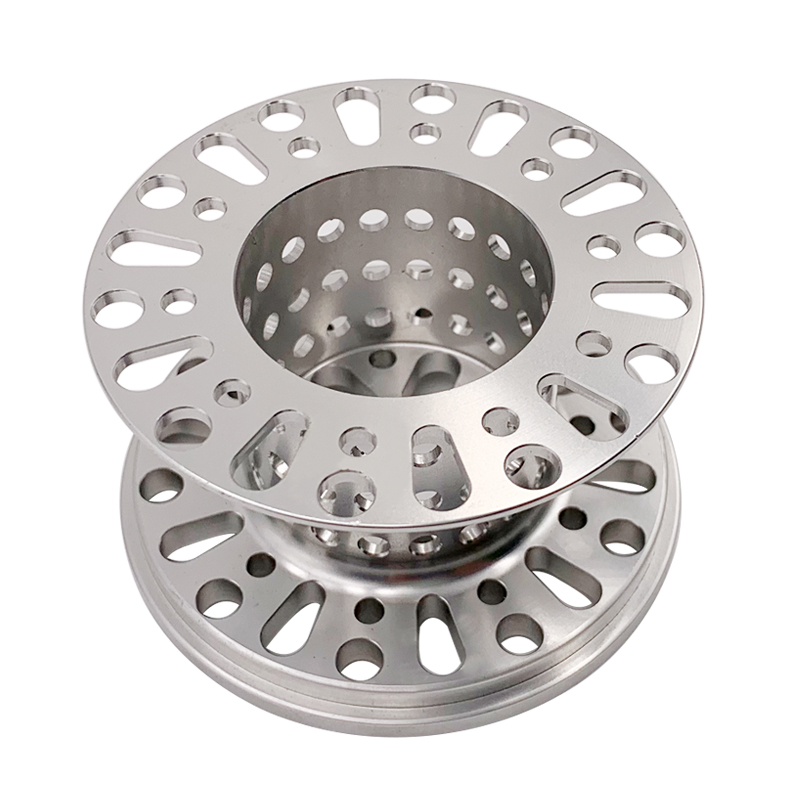
After achieving the desired nickel thickness, proper post-treatment ensures the longevity and appearance of the plated part.
4.1 Rinse the Plated Part
- Turn off the power supply and remove the substrate from the plating solution.
- Immediately rinse the part with distilled water to remove any residual plating solution, which can cause staining or corrosion.
4.2 Dry and Inspect
- Dry the plated part thoroughly using a clean, lint-free cloth or compressed air. Avoid rubbing too hard, as this can scratch the fresh nickel layer.
- Inspect the finish for uniformity, adhesion, and any defects (e.g., pits, blisters, or unevenness). If issues are found, strip the plating (using a nickel stripper) and repeat the process.
4.3 Optional: Polish or Seal
- For a brighter finish, polish the nickel layer using a metal polish and a soft cloth.
- For added corrosion resistance, consider applying a clear sealant (e.g., lacquer or wax), especially for decorative parts.
5. Safety Considerations
- Always work in a well-ventilated area to avoid inhaling fumes from the plating solution.
- Wear gloves, goggles, and a face mask to protect against skin contact and ingestion of toxic chemicals.
- Dispose of used plating solutions and rinse water according to local regulations, as they may contain heavy metals.
- Keep children and pets away from the workspace.
By following these steps, you can achieve a high-quality nickel plating that enhances the appearance and performance of your metal parts. With practice, you’ll refine your technique and tackle more complex projects with confidence.
A Practical Guide: How to Remove Nickel Plating
How to Polish Nickel Plating: Restore Its Brilliant Shine
Related Article

Fast sampling is the fastest way to win business in the hardware machining and plastic mold industries. Customers want a working sample in days, and a 3D printer delivers it, but only when you know how to print in 3d correctly.
how to print in 3d

Fast sampling is the fastest way to win business in the hardware machining and plastic mold industries. Customers often send an STL file and expect a working sample in days.
how to print an stl file

