How to Stamp Metal: A Comprehensive Guide
Author: SZTC
2025-04-01
Introduction
Metal stamping is a versatile and widely used manufacturing process that involves shaping metal sheets into various forms by applying pressure. It is a cost - effective method for producing a large number of identical metal parts with high precision. Whether you are a hobbyist looking to create unique metal art pieces or a professional in the manufacturing industry, understanding how to stamp metal is essential. In this blog post, we will walk you through the step - by - step process of metal stamping.
Pre - stamping Preparation
Selecting the Right Metal
- Material Properties
- Different metals have distinct properties that affect the stamping process. For example, aluminum is lightweight and corrosion - resistant, making it suitable for applications where weight is a concern, such as in the aerospace industry. Steel, on the other hand, is strong and durable, and comes in various grades like mild steel for general - purpose stamping and stainless steel for applications requiring corrosion resistance.
- Consider the formability of the metal. Some metals, like copper, are highly malleable and can be easily shaped into complex forms, while others may require more force and specialized techniques.
- Thickness Matters
- The thickness of the metal sheet plays a crucial role in the stamping process. Thicker sheets generally require more force to stamp and may be suitable for applications that need greater strength. Thinner sheets are more pliable and can be used for creating intricate designs, but they may be more prone to tearing or wrinkling during stamping.
Designing the Stamp
- Sketch Your Design
- Start by creating a detailed sketch of the design you want to stamp on the metal. Whether it's a simple logo, a decorative pattern, or a complex mechanical part, a clear sketch will serve as the basis for the stamp creation. Make sure to consider the size, shape, and any fine details of the design.
- Transfer the Design to the Stamp Material
- Once you have the sketch, you need to transfer it onto the stamp material. This can be done using various methods. For example, if you are using a block of steel or brass as the stamp material, you can use a transfer paper to trace the design onto the surface. Another option is to use a laser engraving machine to directly etch the design onto the stamp material if you have access to such equipment.
Gathering the Necessary Tools
- Stamping Press
- A stamping press is the primary tool for metal stamping. There are different types of stamping presses, including mechanical presses, hydraulic presses, and pneumatic presses. Mechanical presses are commonly used for high - volume production due to their high speed and precision. Hydraulic presses, on the other hand, are suitable for applications that require a large amount of force, as they can generate high pressure. Pneumatic presses are often used for lighter - duty stamping jobs and are relatively compact and easy to operate.
- Anvils and Dies
- An anvil provides a stable base for the stamping process, while dies are the molds that give the metal its final shape. The die is designed to match the inverse of the desired stamped design. For example, if you want to stamp a raised logo on the metal, the die will have a recessed version of that logo. Dies can be made from various materials, such as hardened steel for long - lasting use in high - volume production or softer materials like polyurethane for low - volume or prototype stamping.
- Measuring Tools
- Precise measurements are crucial in metal stamping. You will need tools such as calipers to measure the thickness of the metal sheet, the dimensions of the stamp, and the final stamped part. A ruler or tape measure can also be used for larger - scale measurements.
- Safety Equipment
- Safety should always be a top priority. Wear safety goggles to protect your eyes from flying metal fragments. Gloves can help protect your hands from sharp edges and the force of the stamping process. Additionally, make sure the work area is clear of any obstacles and that the stamping press is properly grounded.
Setting up the Stamping Press
- Mounting the Die
- Carefully mount the die onto the stamping press. Make sure it is securely fastened in place using the appropriate bolts or clamps. The die should be aligned correctly with the anvil to ensure that the stamping process is accurate.
- Adjusting the Press Settings
- Set the pressure, speed, and stroke length of the stamping press according to the requirements of the metal and the design. For thicker metals or more complex designs, you may need to increase the pressure. The speed of the press should be adjusted based on the type of press and the quality of the stamping you want to achieve. A slower speed may be necessary for more intricate designs to ensure proper forming.
Loading the Metal Sheet
- Cutting the Metal to Size
- Before loading the metal sheet into the stamping press, cut it to the appropriate size. Make sure the dimensions are slightly larger than the area of the final stamped part to allow for any trimming or finishing that may be required. Use a metal cutting saw or shears to cut the sheet accurately.
- Positioning the Metal Sheet
- Place the metal sheet on the anvil, aligning it with the die. Ensure that the sheet is centered and held firmly in place. Some stamping presses may have fixtures or guides to help with the proper positioning of the metal sheet.
Performing the Stamp
- Activating the Press
- Once everything is set up and the metal sheet is in place, activate the stamping press. The press will apply force to the die, which in turn will stamp the design onto the metal sheet. During the stamping process, closely monitor the operation to ensure that the stamping is taking place smoothly and that the metal is being formed as expected.
- Checking the Stamped Part
- After the stamping is complete, carefully remove the metal part from the press. Inspect it for any defects such as cracks, wrinkles, or uneven stamping. If there are any issues, you may need to adjust the press settings, the die, or the metal sheet and repeat the stamping process.
Post - stamping Finishing
Trimming and Deburring
- Trimming the Excess Material
- Use a trimmer or a pair of metal snips to remove any excess metal around the edges of the stamped part. This will give the part a clean and finished look. Make sure to trim the edges evenly and carefully to avoid damaging the stamped design.
- Deburring the Part
- Deburring is the process of removing any sharp edges or burrs that may have formed during the stamping process. You can use a file, a deburring tool, or a sanding wheel to smooth out the edges. This not only improves the appearance of the part but also makes it safer to handle.
Surface Treatment
- Painting or Coating
- To protect the metal from corrosion and enhance its appearance, you can apply a paint or a coating to the stamped part. There are various types of paints and coatings available, such as epoxy coatings for high - durability applications or decorative paints for a more aesthetically pleasing finish. Make sure to clean the surface of the part thoroughly before applying the paint or coating.
- Polishing
- If you want a shiny and smooth finish, you can polish the stamped part. Use polishing compounds and a polishing wheel to buff the surface of the metal. This will remove any minor scratches or imperfections and give the part a high - quality look.
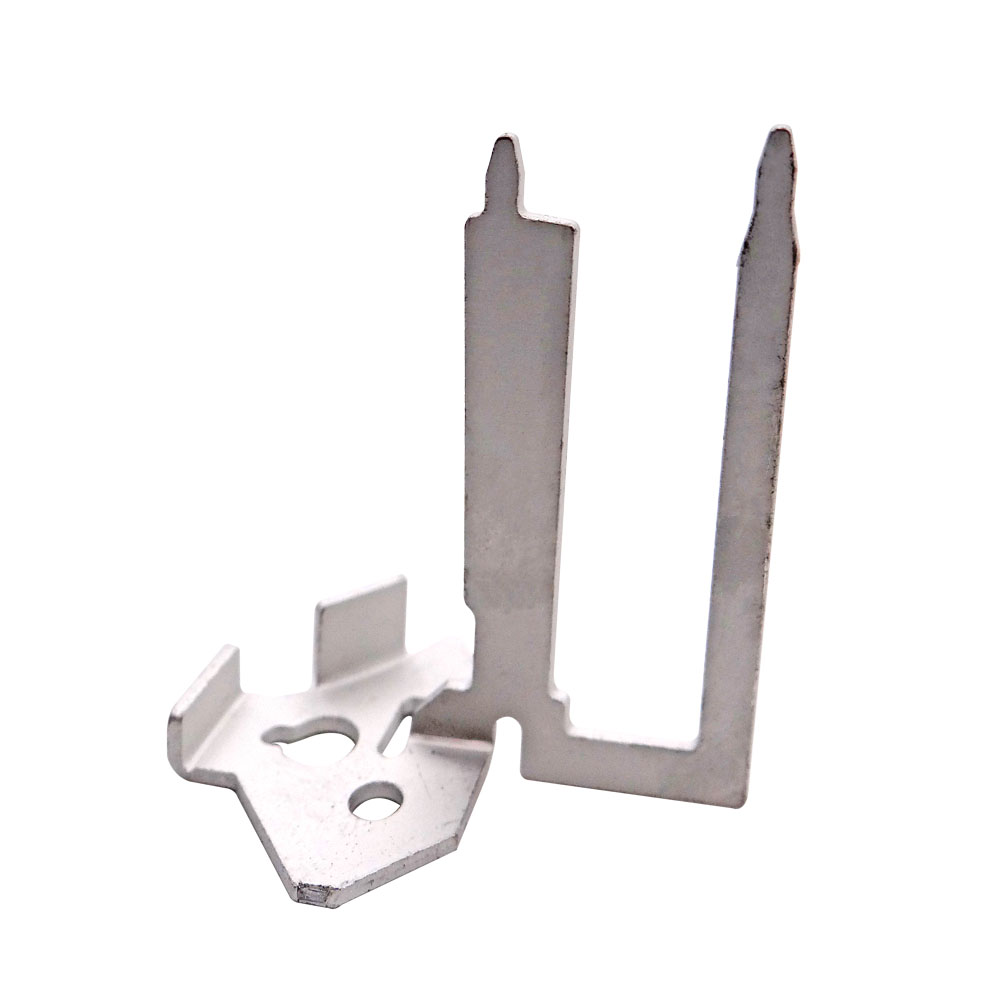
Conclusion
Metal stamping is a fascinating process that allows you to create a wide variety of metal parts and products. By following the steps outlined in this guide, from selecting the right metal and designing the stamp to performing the stamping and finishing the part, you can achieve successful results. Whether you are a beginner or an experienced metalworker, continuous practice and experimentation will help you improve your metal stamping skills and create even more complex and impressive metal pieces.
What is Metal Stamping: A Comprehensive Guide
What is Aluminum Cast?
Related Article
Fast sampling is the fastest way to win business in the hardware machining and plastic mold industries. Customers want a working sample in days, and a 3D printer delivers it, but only when you know how to print in 3d correctly.
how to print in 3d
Fast sampling is the fastest way to win business in the hardware machining and plastic mold industries. Customers often send an STL file and expect a working sample in days.
how to print an stl file