
How to Make Custom Plastic Parts: A Comprehensive Guide from Concept to Completion
Author: SZTC
2025-04-23
Custom plastic parts are essential in industries ranging from manufacturing to product design, offering versatility for prototyping and mass production. Whether you need a unique prototype or high-precision components, understanding the process of creating custom plastic parts is key. This guide breaks down the steps to help you bring your ideas to life.
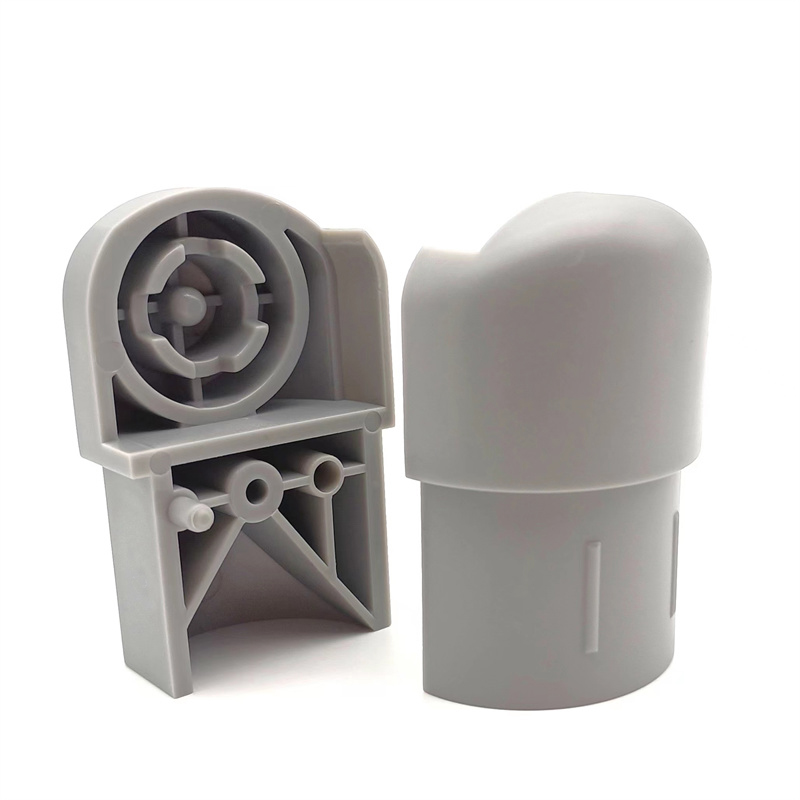
1. Pre-Production: Defining Requirements and Designing the Model
1.1 Clarify Functional Needs and Specifications
- Purpose & Application: Start by identifying the part’s intended use (e.g., mechanical components, electronic casings, medical devices) and its functional requirements (load-bearing capacity, heat resistance, chemical compatibility). Ensure compliance with industry standards (e.g., FDA approval for medical parts).
- Technical Details: Specify precise dimensions (tolerances included), geometric features (complex curves, hollow structures), and surface finishes (matte, glossy, textured).
1.2 3D Modeling and Design Optimization
- Software Tools: Use professional CAD software like SolidWorks, AutoCAD, or Fusion 360 to create a 3D model with accurate measurements.
- Design for Manufacturability (DFM): Collaborate with manufacturers to refine the design for production:
- Avoid sharp angles or excessively thin walls (to prevent molding issues).
- Add draft angles for easy mold release.
- Simplify internal structures for 3D printing to reduce support material usage.

2. Process Selection: Choosing the Right Manufacturing Method
The choice of manufacturing process depends on volume, precision, and budget. Here are the most common techniques:
2.1 3D Printing (Additive Manufacturing)
- Ideal for: Prototyping or low-volume production of complex geometries (e.g., intricate interiors or lattice structures).
- Workflow:
- Export the model as an STL file and slice it using software.
- Select materials (PLA, ABS, nylon, resin) and set parameters (layer height, infill density).
- Print the part, remove support structures, and finish it (sanding, painting, or vapor smoothing).
- Advantages: No tooling costs, rapid turnaround, high design flexibility.
- Limitations: Lower surface finish compared to molding, not cost-effective for large batches.
2.2 Injection Molding
- Ideal for: High-volume production of precise, uniform parts (e.g., automotive components, consumer electronics).
- Workflow:
- Create a custom metal mold (costly but reusable).
- Melt plastic pellets (e.g., PP, PE, PC) and inject them into the mold under high pressure.
- Cool the part, eject it, and trim excess material (flash).
- Advantages: Fast production, consistent quality, and strong mechanical properties.
- Limitations: High upfront mold costs; best for finalized designs.
2.3 CNC Machining
- Ideal for: High-precision parts with complex geometries in low-to-mid volumes (e.g., aerospace components, acrylic prototypes).
- Workflow:
- Convert the 3D model into G-code for CNC machines.
- Secure a plastic block (e.g., POM, acrylic, or nylon) and remove material via milling, drilling, or routing.
- Post-process with deburring, polishing, or coating.
- Advantages: Tight tolerances (up to ±0.01mm), suitable for hard plastics.
- Limitations: Material waste and higher costs for large batches.

3. Production Execution: From Prototyping to Final Delivery
3.1 Prototyping and Validation
- Sample Production: Use your chosen method to create 1–3 prototypes. Check:
- Dimensions against the design blueprint.
- Structural integrity (e.g., load tests or thermal resistance trials).
- Surface finish quality (e.g., defects like sink marks or warping).
- Iterative Refinement: Test prototypes rigorously and adjust the design or process parameters as needed.
3.2 Mass Production and Quality Control
- Scaling Up:
- For injection molding or CNC machining, set up production lines with automated equipment (e.g., robotic arms for part ejection).
- Use 3D printing for on-demand small batches or hybrid manufacturing.
- Quality Assurance:
- Conduct first-article inspection (FAI) to approve the initial batch.
- Perform in-process checks (random sampling for dimensions and defects).
- Validate critical features (e.g., thread accuracy or fitment with other components).
3.3 Post-Processing and Delivery
- Finishing Steps:
- Mechanical: Sanding, bead blasting, or tumbling to remove burrs.
- Surface: Painting, plating, pad printing (for logos or markings), or texture application.
- Functional: Annealing (to reduce internal stress) or applying anti-UV coatings.
- Packaging and Shipment: Package parts to prevent damage during transit and ensure timely delivery.

Conclusion
Creating custom plastic parts involves a strategic blend of design precision, process selection, and quality control. Whether you opt for the speed of 3D printing, the scalability of injection molding, or the accuracy of CNC machining, aligning your approach with project goals (volume, budget, and functionality) is crucial. By following these steps, you can efficiently transform concepts into high-quality plastic components that meet your exact requirements.
Need help choosing the right material or refining your design? Share your project details below, and let’s discuss how to optimize your custom plastic part production
Which of the following is true about this Metalwork
what is contract manufacturing: A Comprehensive Overview
Related Article

Fast sampling is the fastest way to win business in the hardware machining and plastic mold industries. Customers want a working sample in days, and a 3D printer delivers it, but only when you know how to print in 3d correctly.
how to print in 3d

Fast sampling is the fastest way to win business in the hardware machining and plastic mold industries. Customers often send an STL file and expect a working sample in days.
how to print an stl file

