
How Can I Polish Stainless Steel? A Complete Guide
Author: SZTC
2025-04-21
Polishing stainless steel can transform its appearance from dull to mirror-like while enhancing corrosion resistance. Whether you’re restoring kitchen appliances, automotive trim, or industrial components, understanding the right techniques and tools is key. This guide walks you through step-by-step methods for achieving professional results, from basic cleaning to advanced buffing.
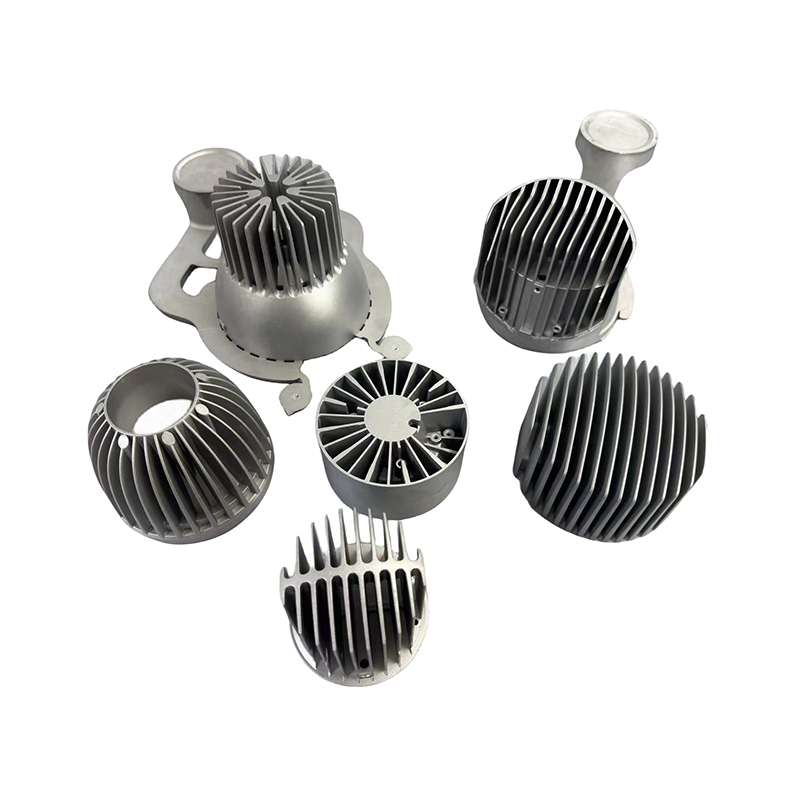
I. Understand the Basics of Stainless Steel Polishing
Stainless steel’s surface finish depends on its manufacturing process, but polishing involves refining the texture through abrasion and buffing. Here’s what you need to know:
1.1 Types of Stainless Steel Finishes
- Brushed Finish: A directional, matte texture created by abrasive belts (common in kitchen sinks).
- Mirror Finish: A highly reflective surface achieved through progressive abrasion and buffing (used in decorative or medical applications).
- Bead Blasted/Satin Finish: A uniform, non-reflective surface via glass bead blasting (popular for architectural panels).
1.2 Key Considerations
- Grain Direction: Always polish in the same direction as the original manufacturing grain to avoid swirl marks.
- Thickness of Material: Thin sheets (e.g., <1mm) are more prone to warping or burning during aggressive polishing.
- Safety Gear: Wear gloves, safety glasses, and a dust mask to protect against abrasives and metal particles.
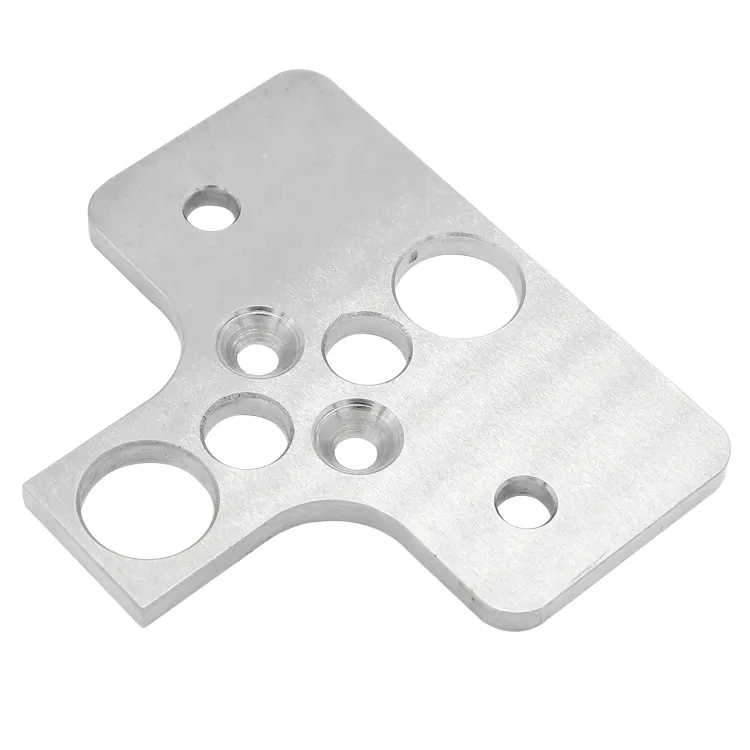
II. Step-by-Step Polishing Procedures
2.1 Prepolishing Preparation
Clean the Surface Thoroughly
- Use warm soapy water or a stainless steel cleaner to remove oils, fingerprints, and grime.
- For stubborn stains, apply isopropyl alcohol or acetone with a microfiber cloth. Avoid abrasive sponges that can scratch the surface.
Protect Adjacent Areas
- Tape off non-polished sections (e.g., edges, seams) with painter’s tape to prevent accidental abrasion.
2.2 Choose the Right Abrasive Tools
For Light Polishing (Removing Minor Scratches)
- Abrasive Pads: Use non-woven abrasive pads (e.g., Scotch-Brite) in medium (gray) or fine (maroon) grades. Apply light pressure in the direction of the grain.
- Polishing Compounds: Apply a mild metal polish (e.g., Bar Keepers Friend, Flitz) with a soft cloth for a subtle shine.
For Moderate to Heavy Polishing (Restoring Deep Scratches or Matte to Mirror Finish)
- Coarse Grinding (If Needed):
- Use a 120-240 grit sandpaper or a flap disc on an angle grinder to remove deep scratches or weld marks. Work in the direction of the grain, keeping the tool moving to avoid heat buildup.
- Progressive Sanding:
- Gradually switch to finer grits: 400 → 800 → 1200 → 2000 grit. Each step should remove the scratches from the previous grit. Use wet sanding with water or a lubricant to reduce friction and debris.
- Buffing with Compounds:
- Cutting Compound: Apply a brown or green cutting compound (abrasive) with a cotton buffing wheel on a bench grinder or polisher. Run the tool at low speed (1500-2000 RPM) and move it across the surface in overlapping passes.
- Polishing Compound: Switch to a white or red polishing compound (less abrasive) for a high shine. Use a soft wool or foam pad and increase speed to 2500-3000 RPM.
- Final Cleaning:
- Wipe the surface with a clean microfiber cloth and stainless steel cleaner to remove compound residue.
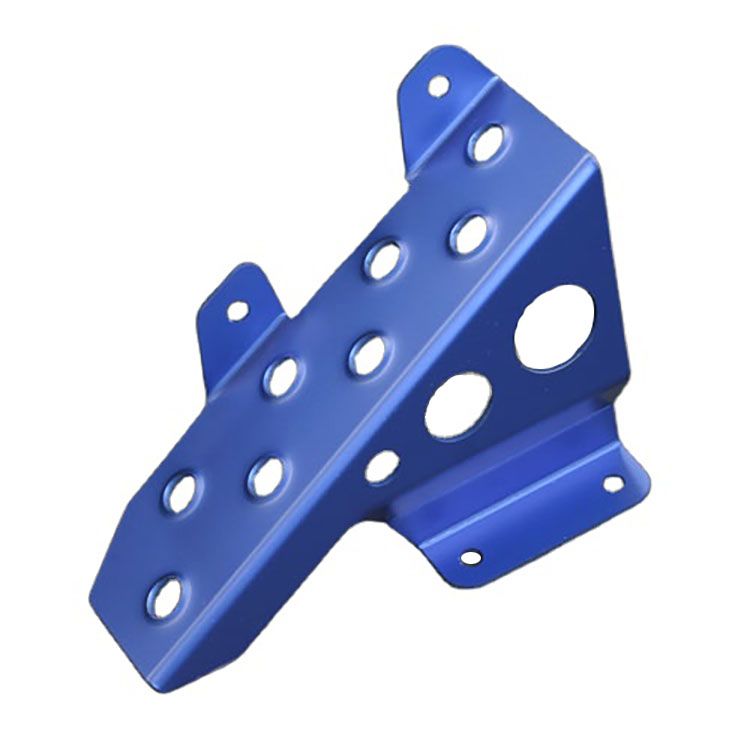
III. Advanced Techniques and Tips
3.1 Achieve a Mirror Finish
- After buffing with polishing compound, use a felt pad and jeweler’s rouge for the final stage. This removes fine scratches and enhances reflectivity.
- For curved or intricate surfaces, use a Dremel tool with small buffing attachments.
3.2 Maintain the Polished Finish
- Regular Cleaning: Wipe with a soft cloth and mild detergent to prevent mineral deposits or grime buildup.
- Protective Coatings: Apply a stainless steel sealant or wax (e.g., carnauba wax) to repel water and fingerprints, extending the life of the polish.
3.3 Troubleshooting Common Issues
- Swirl Marks: Caused by inconsistent pressure or improper grit progression. Use a finer grit or switch to a dual-action polisher for more control.
- Burn Marks: Overheating from excessive speed or pressure. Reduce tool RPM and keep the buffing pad moving continuously.
- Dull Spots: Incomplete removal of coarse scratches. Return to a coarser grit and repeat the sanding process.
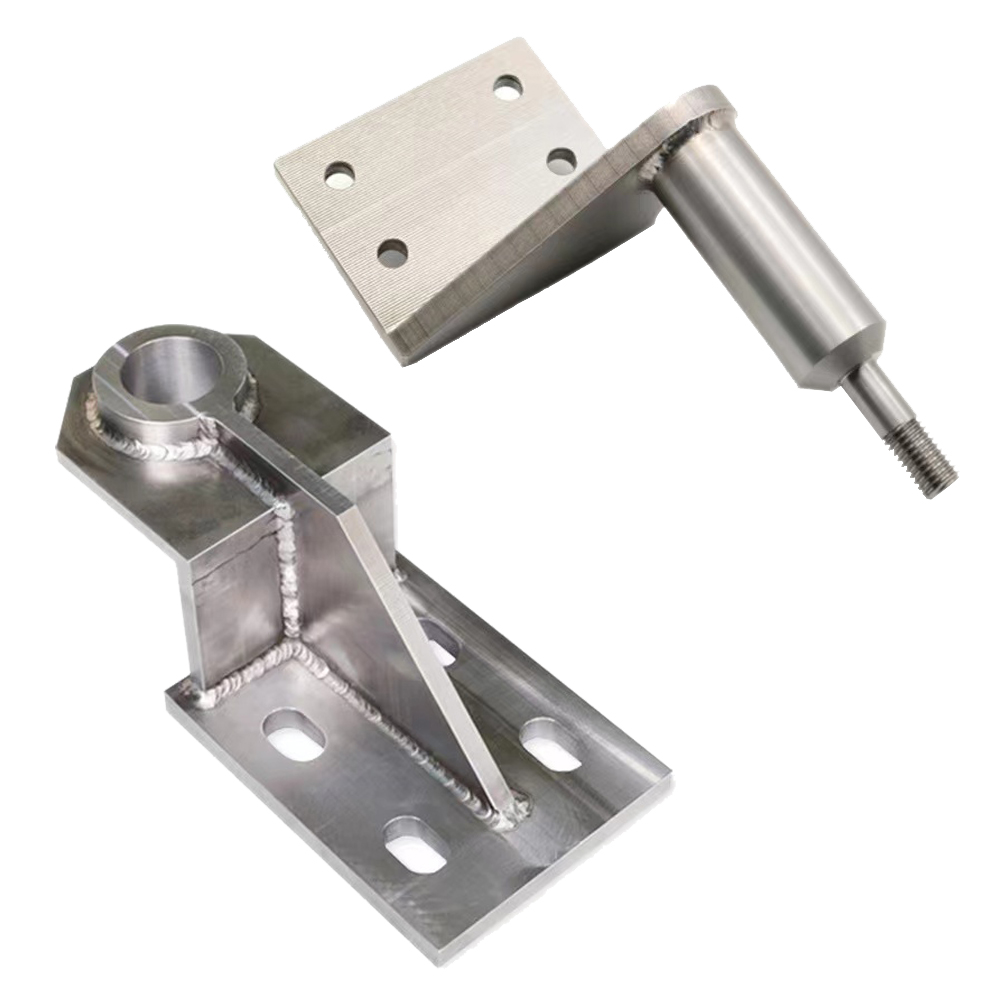
IV. Tools and Materials Checklist
|
Tool/Material
|
Purpose
|
|
Microfiber Cloths
|
Cleaning and final wipes
|
|
Abrasive Pads (3M)
|
Light to medium abrasion
|
|
Sandpaper (120-2000 grit)
|
Progressive scratch removal
|
|
Angle Grinder/Polisher
|
Heavy-duty grinding and buffing
|
|
Buffing Wheels (Cotton/Wool/Foam)
|
Compound application
|
|
Polishing Compounds (Cutting/Polishing)
|
Shine enhancement
|
|
Painter’s Tape
|
Protecting non-polished areas
|
V. Safety and Environmental Tips
- Work in a well-ventilated area to avoid inhaling abrasive dust.
- Dispose of used sandpaper and rags properly, as they may contain metal particles.
- For large projects, consider using a dust collection system or vacuum attachment on power tools.
Conclusion
Polishing stainless steel is a rewarding process that combines patience and the right techniques. Whether you’re refreshing a scratched sink or creating a showpiece with a mirror finish, following these steps will help you achieve professional results. Remember to start with gentle abrasion, progress gradually through grits, and protect the finished surface with regular maintenance. With practice, you’ll master the art of bringing out stainless steel’s natural luster.
Have you polished stainless steel before? Share your tips or ask about specific challenges in the comments below!
what is contract manufacturing: A Comprehensive Overview
How to Weld Stainless Steel: A Step-by-Step Guide
Related Article

Fast sampling is the fastest way to win business in the hardware machining and plastic mold industries. Customers want a working sample in days, and a 3D printer delivers it, but only when you know how to print in 3d correctly.
how to print in 3d

Fast sampling is the fastest way to win business in the hardware machining and plastic mold industries. Customers often send an STL file and expect a working sample in days.
how to print an stl file

