Can You Paint Stainless Steel? A Comprehensive Guide
Author: SZTC
2025-04-21
Stainless steel is valued for its durability, corrosion resistance, and sleek appearance, making it a popular choice in kitchens, architecture, and industrial settings. However, its smooth, non-porous surface poses a challenge for painting. If you’ve ever wondered, “Can you paint stainless steel?”—the answer is yes, but with careful preparation and the right materials. This article explores the key considerations, step-by-step processes, and practical tips for achieving a long-lasting painted finish on stainless steel.
I. The Challenge of Painting Stainless Steel: Surface Properties
Stainless steel’s unique surface characteristics are the primary hurdle to successful painting. Understanding these properties is crucial for overcoming adhesion issues:
1.1 Non-Porous and Smooth Surface
Unlike porous materials like wood or concrete, stainless steel has a dense, polished surface that lacks texture for paint to grip. This smoothness causes paint to bead up or peel off easily if not properly prepared.
1.2 Oxide Layer Barrier
Stainless steel forms a thin, invisible chromium oxide layer that protects it from rust. While this layer is essential for corrosion resistance, it also creates a barrier between the metal and paint. Without removing or modifying this layer, paint adhesion remains compromised.
1.3 Oil and Grease Contamination
In manufacturing or daily use, stainless steel often accumulates oils, fingerprints, or protective coatings. These contaminants further weaken paint bonding if not thoroughly cleaned.
II. Preparing Stainless Steel for Painting: Key Steps
Proper surface preparation is the foundation of a successful paint job on stainless steel. Follow these steps to ensure optimal adhesion:
2.1 Cleaning: Remove Contaminants
- Degreasing: Use a mild detergent (e.g., dish soap) or specialized stainless steel cleaner to wipe down the surface. For stubborn grease, apply isopropyl alcohol or acetone with a lint-free cloth.
- Rinse Thoroughly: After cleaning, rinse with warm water and dry completely to avoid residue.
2.2 Surface Etching or Sanding
- Mechanical Etching: Lightly sand the surface with 180-220 grit sandpaper or a scuff pad to create a rough texture. This breaks the smooth oxide layer and provides “tooth” for the paint. Wipe away dust with a tack cloth afterward.
- Chemical Etching (Optional): For highly polished surfaces, use an acidic etchant (e.g., phosphoric acid) or metal primer with etching properties. Follow manufacturer instructions carefully to avoid damaging the metal.
2.3 Priming: Bridge the Gap
- Choose a Metal Primer: Use a primer specifically designed for non-ferrous metals or stainless steel. Look for products labeled “adhesion promoter” or “etching primer,” such as epoxy-based or zinc-rich primers.
- Apply Evenly: Apply a thin, uniform coat of primer with a brush, roller, or sprayer. Allow it to dry completely (check the manufacturer’s curing time, typically 1-2 hours).
III. Selecting the Right Paint and Application Methods
The type of paint and application technique significantly impact the final result. Here’s what to consider:
3.1 Paint Types Suitable for Stainless Steel
- Oil-Based Paints: Offer excellent durability and weather resistance, ideal for outdoor or high-traffic areas. Examples include alkyd enamels.
- Water-Based Acrylics: Dry quickly, emit fewer VOCs, and are suitable for indoor projects. Look for formulations labeled “metal-safe” or “all-surface.”
- Epoxy Coatings: Provide heavy-duty protection against chemicals, abrasion, and corrosion, making them perfect for industrial applications.
- Spray Paint: For smooth, even coverage, use aerosol paints designed for metal (e.g., Rust-Oleum Universal or Krylon Fusion for Metal).
3.2 Application Tips
- Multiple Thin Coats: Apply 2-3 thin layers instead of one thick coat to prevent drips and ensure even drying.
- Curing Time: Allow each coat to dry fully (usually 2-4 hours between coats) before applying the next. For maximum durability, let the final coat cure for 24-48 hours.
- Topcoating (Optional): For added protection, apply a clear polyurethane or enamel topcoat, especially for surfaces prone to scratches or moisture.
IV. Common Mistakes to Avoid
- Skipping Surface Preparation: Even minor grease or smoothness can lead to peeling. Always clean and etch/sand the surface.
- Using the Wrong Primer: Standard wall primers won’t work on stainless steel. Invest in a metal-specific primer.
- Rushing the Process: Inadequate drying time between coats can cause bubbling or poor adhesion.
V. Practical Applications and Inspiration
- Kitchen Upgrades: Paint stainless steel appliances (e.g., refrigerators, range hoods) with heat-resistant paint for a custom look.
- Decorative Projects: Transform stainless steel furniture, planters, or outdoor fixtures with vibrant colors using weather-resistant coatings.
- Industrial Repairs: Use epoxy paints to refresh corroded stainless steel components in machinery or marine environments.

Yes, you can paint stainless steel—with the right approach. By understanding its surface challenges, investing in proper preparation, and choosing high-quality primers and paints, you can achieve a durable, professional finish. Whether you’re updating household items or tackling an industrial project, following these steps will ensure your painted stainless steel stands the test of time.
Have you tried painting stainless steel before? Share your experiences or ask questions in the comments below!
How to Weld Stainless Steel: A Step-by-Step Guide
Will a Magnet Stick to Stainless Steel?
Related Article
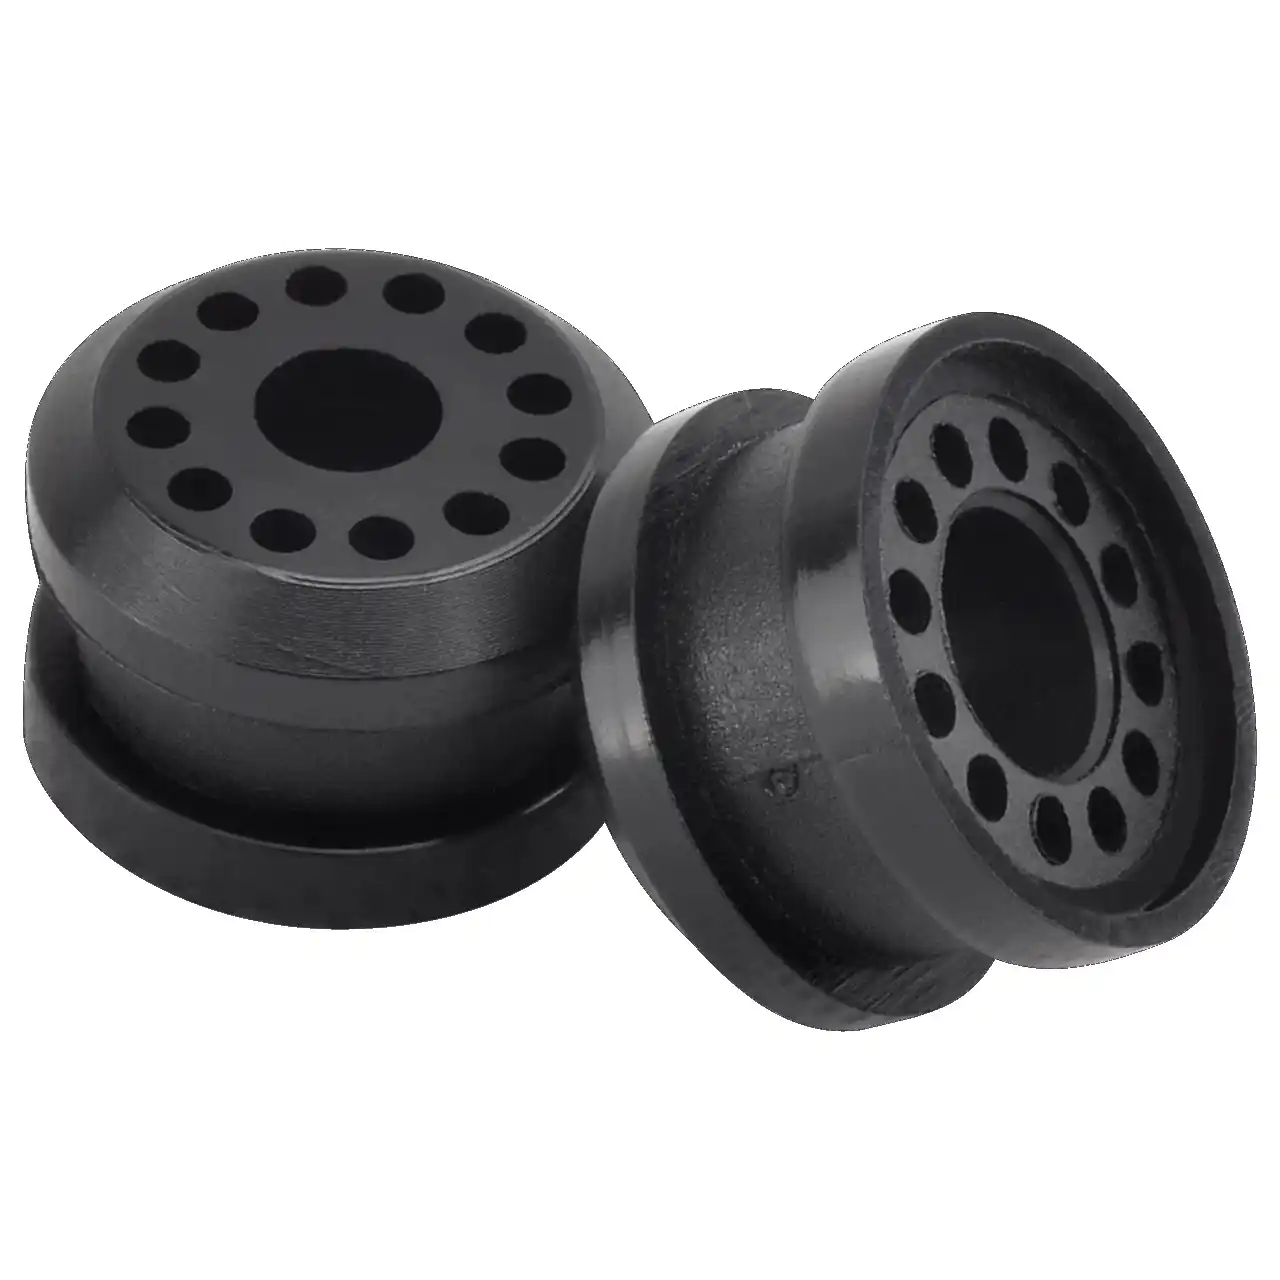
Fast sampling is the fastest way to win business in the hardware machining and plastic mold industries. Customers want a working sample in days, and a 3D printer delivers it, but only when you know how to print in 3d correctly.
how to print in 3d
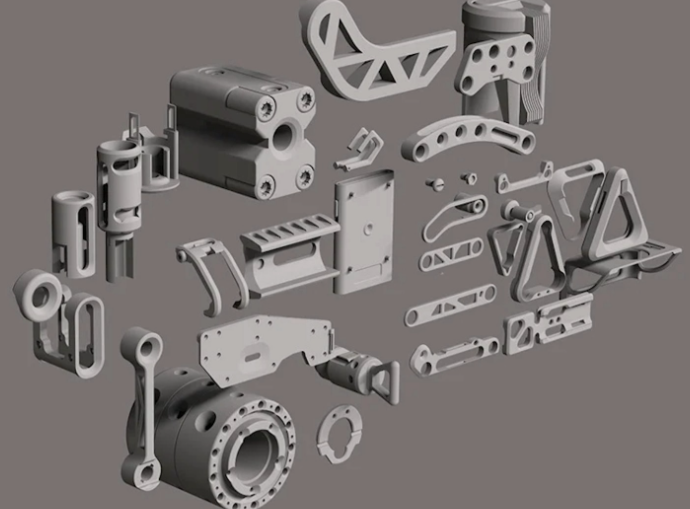
Fast sampling is the fastest way to win business in the hardware machining and plastic mold industries. Customers often send an STL file and expect a working sample in days.
how to print an stl file